

ESP32 — ESP-IDF v6
ESP-IDF v6 — Windows Setup
Install ESP-IDF v6 on Windows using the ESP-IDF Installation Manager (EIM). EIM handles all dependencies automatically — no manual Python environments or PATH configuration needed.
Prerequisites
Before starting, make sure you have:
- Windows 10 64-bit (version 1903 or later) or Windows 11
- At least 5 GB of free disk space (8 GB recommended)
- A stable internet connection for the initial download (~1.5 GB)
Username must have no spaces
Your Windows username and project folder paths must contain no spaces and no special characters. The ESP-IDF build system does not support spaces in paths. If your username has spaces, create a new Windows user without spaces before proceeding.
Step 1 — Install Prerequisites (Optional)
EIM automatically checks for required prerequisites during installation and prompts you to install anything missing.
If automatic installation fails, install these manually before running EIM:
- Git for Windows — git-scm.com/download/win
- Python 3.10 or newer — python.org/downloads/windows
Add Python to PATH
When installing Python, check the "Add Python to PATH" checkbox on the first screen of the installer. This is the most common mistake — if missed, Python will not be found from the terminal and you will need to reinstall.
Verify both are installed. Open PowerShell and run:
git --version
python --version
Both should return version numbers before proceeding.
Step 2 — Install EIM
Install EIM using one of two methods:
Option A — Download directly (Recommended)
Go to dl.espressif.com/dl/eim/ and download the Windows Online Installer — GUI version.
Run the downloaded file. If Windows SmartScreen appears — click More Info, then Run Anyway. This is a genuine Espressif tool.
Option B — Install via WinGet
Open PowerShell and run:
# GUI version
winget install Espressif.EIM

# CLI-only version (for automation use)
winget install Espressif.EIM-CLI
WinGet not available?
WinGet is included by default in Windows 11. For Windows 10, install the App Installer package from the Microsoft Store to get WinGet.
Verify EIM installed correctly:
eim --version
Step 3 — Install ESP-IDF v6 Using EIM
Using the EIM GUI (Recommended for most users)
Open the EIM application from the Start Menu or Desktop shortcut
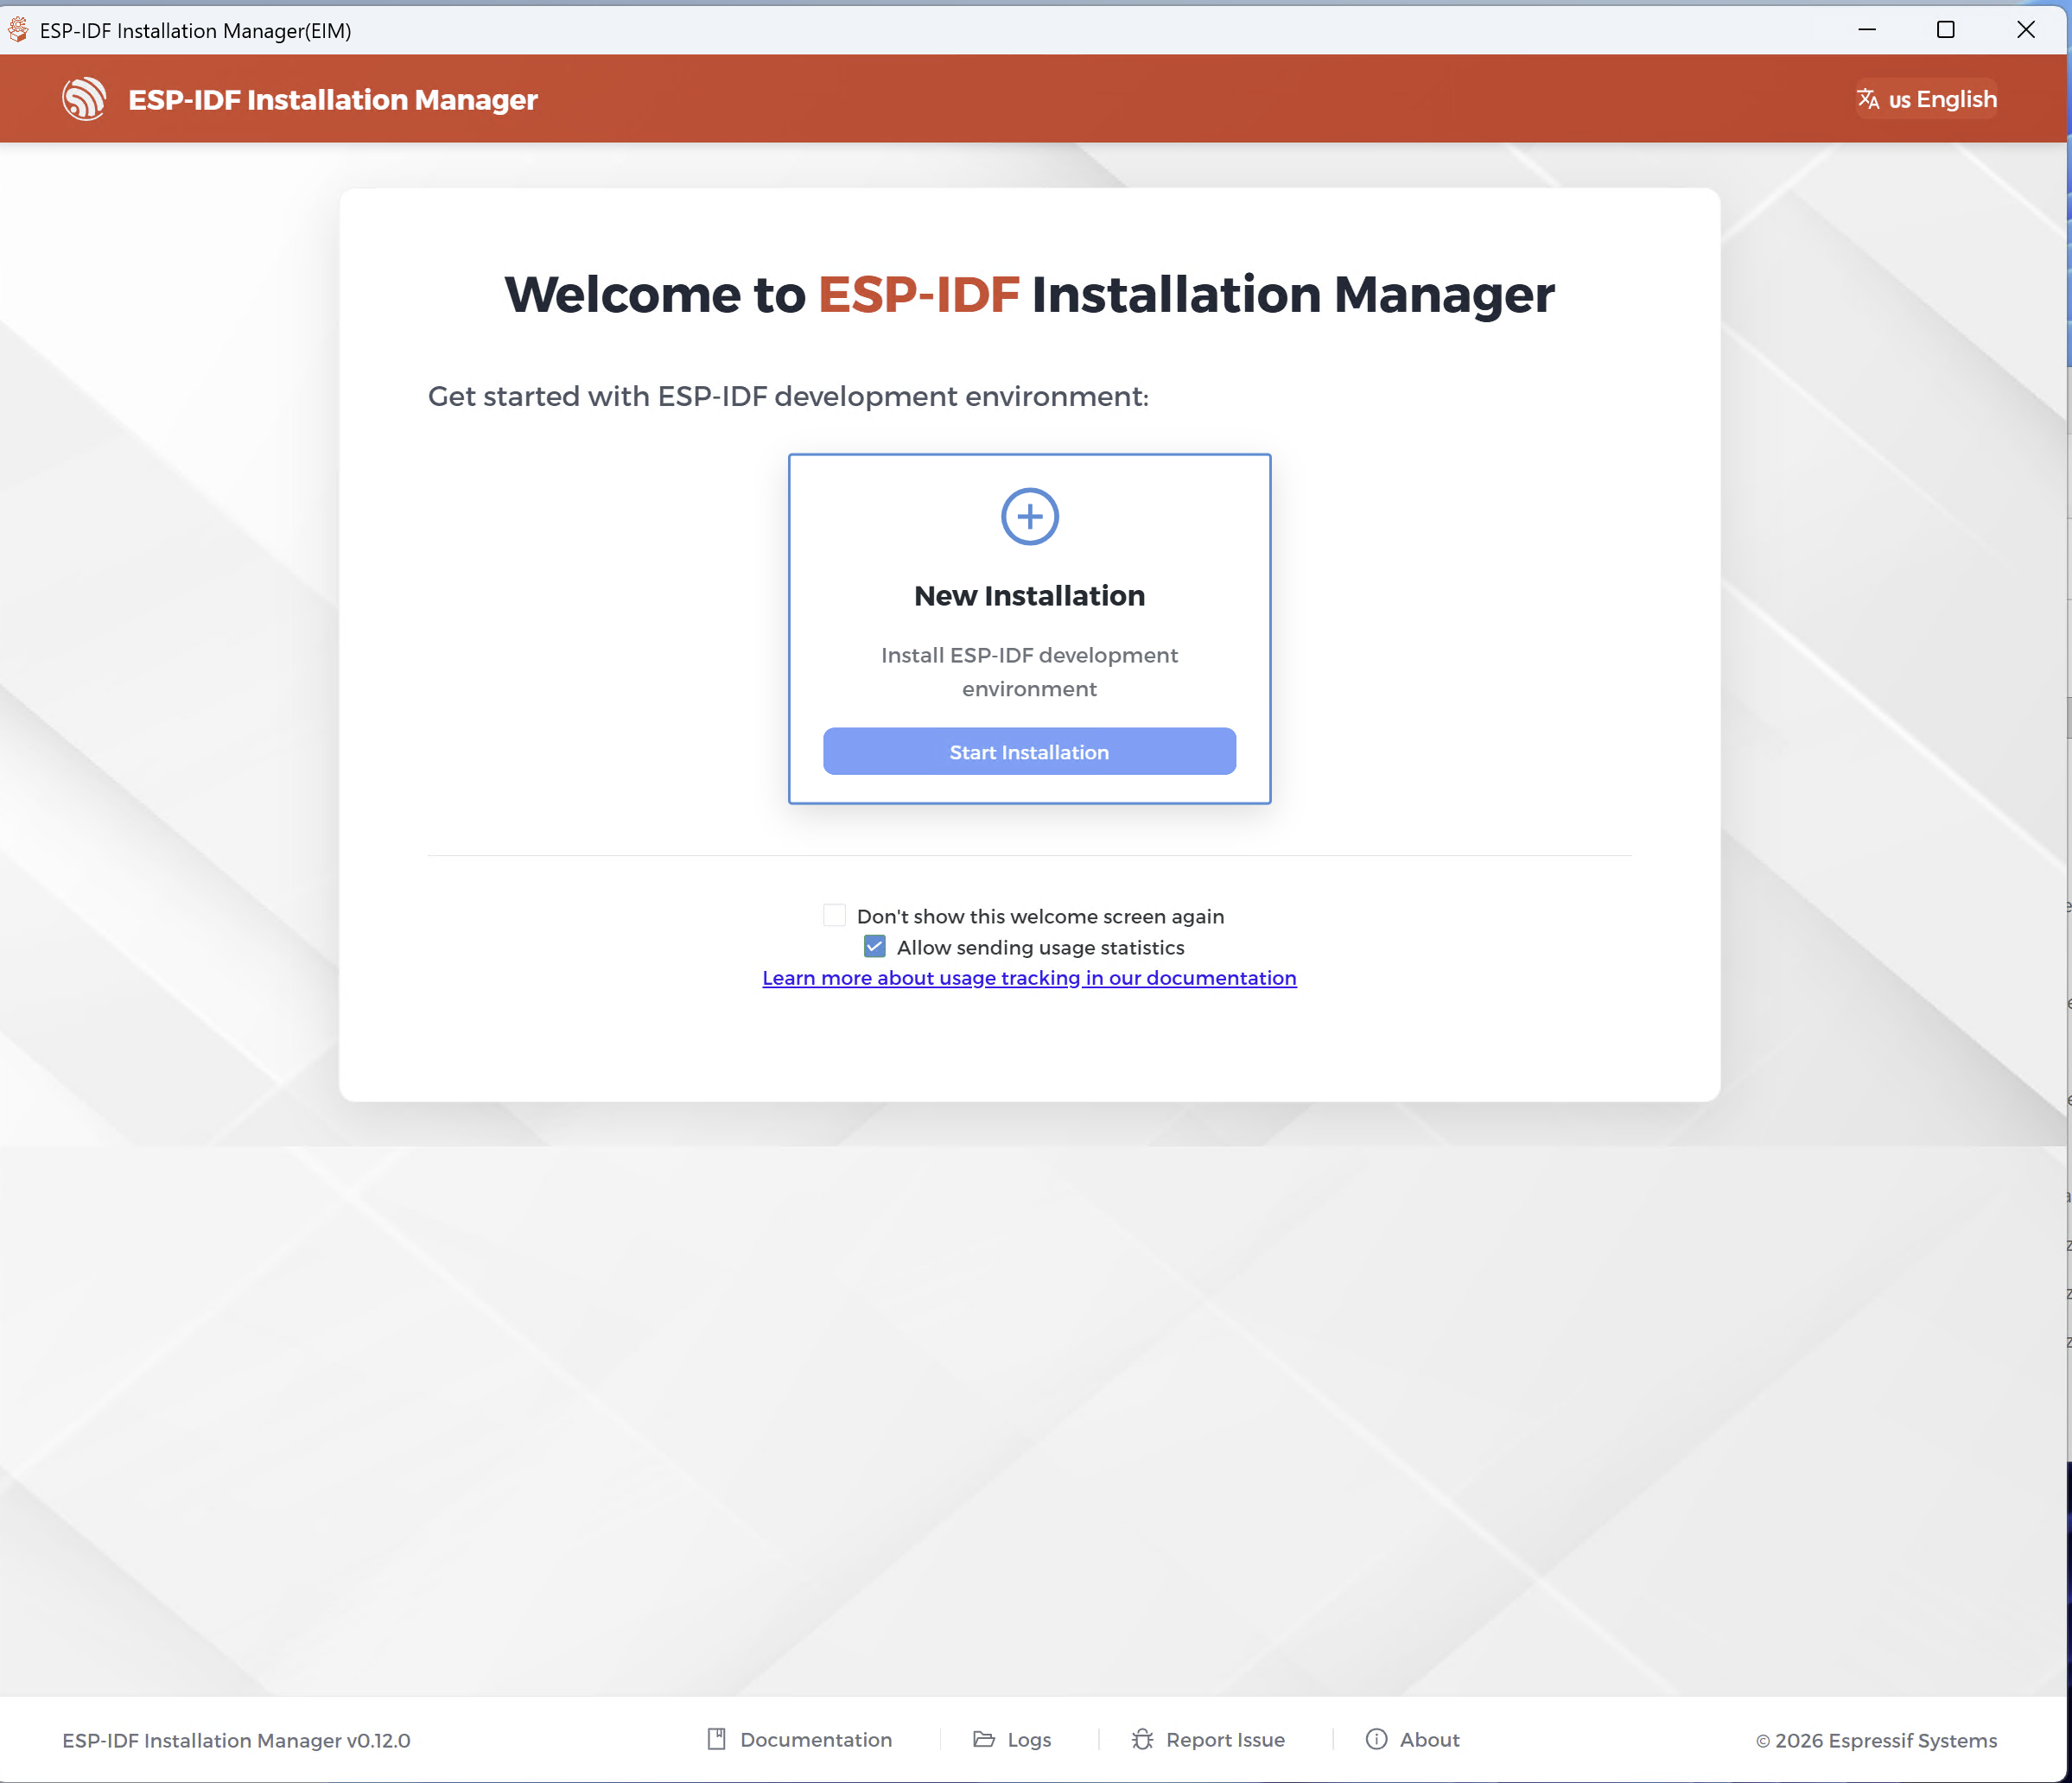
Click "New Installation" → "Start Installation"
First time install
If you have never installed ESP-IDF before, Manage Installations will not appear. Only New Installation will be shown — that is correct.
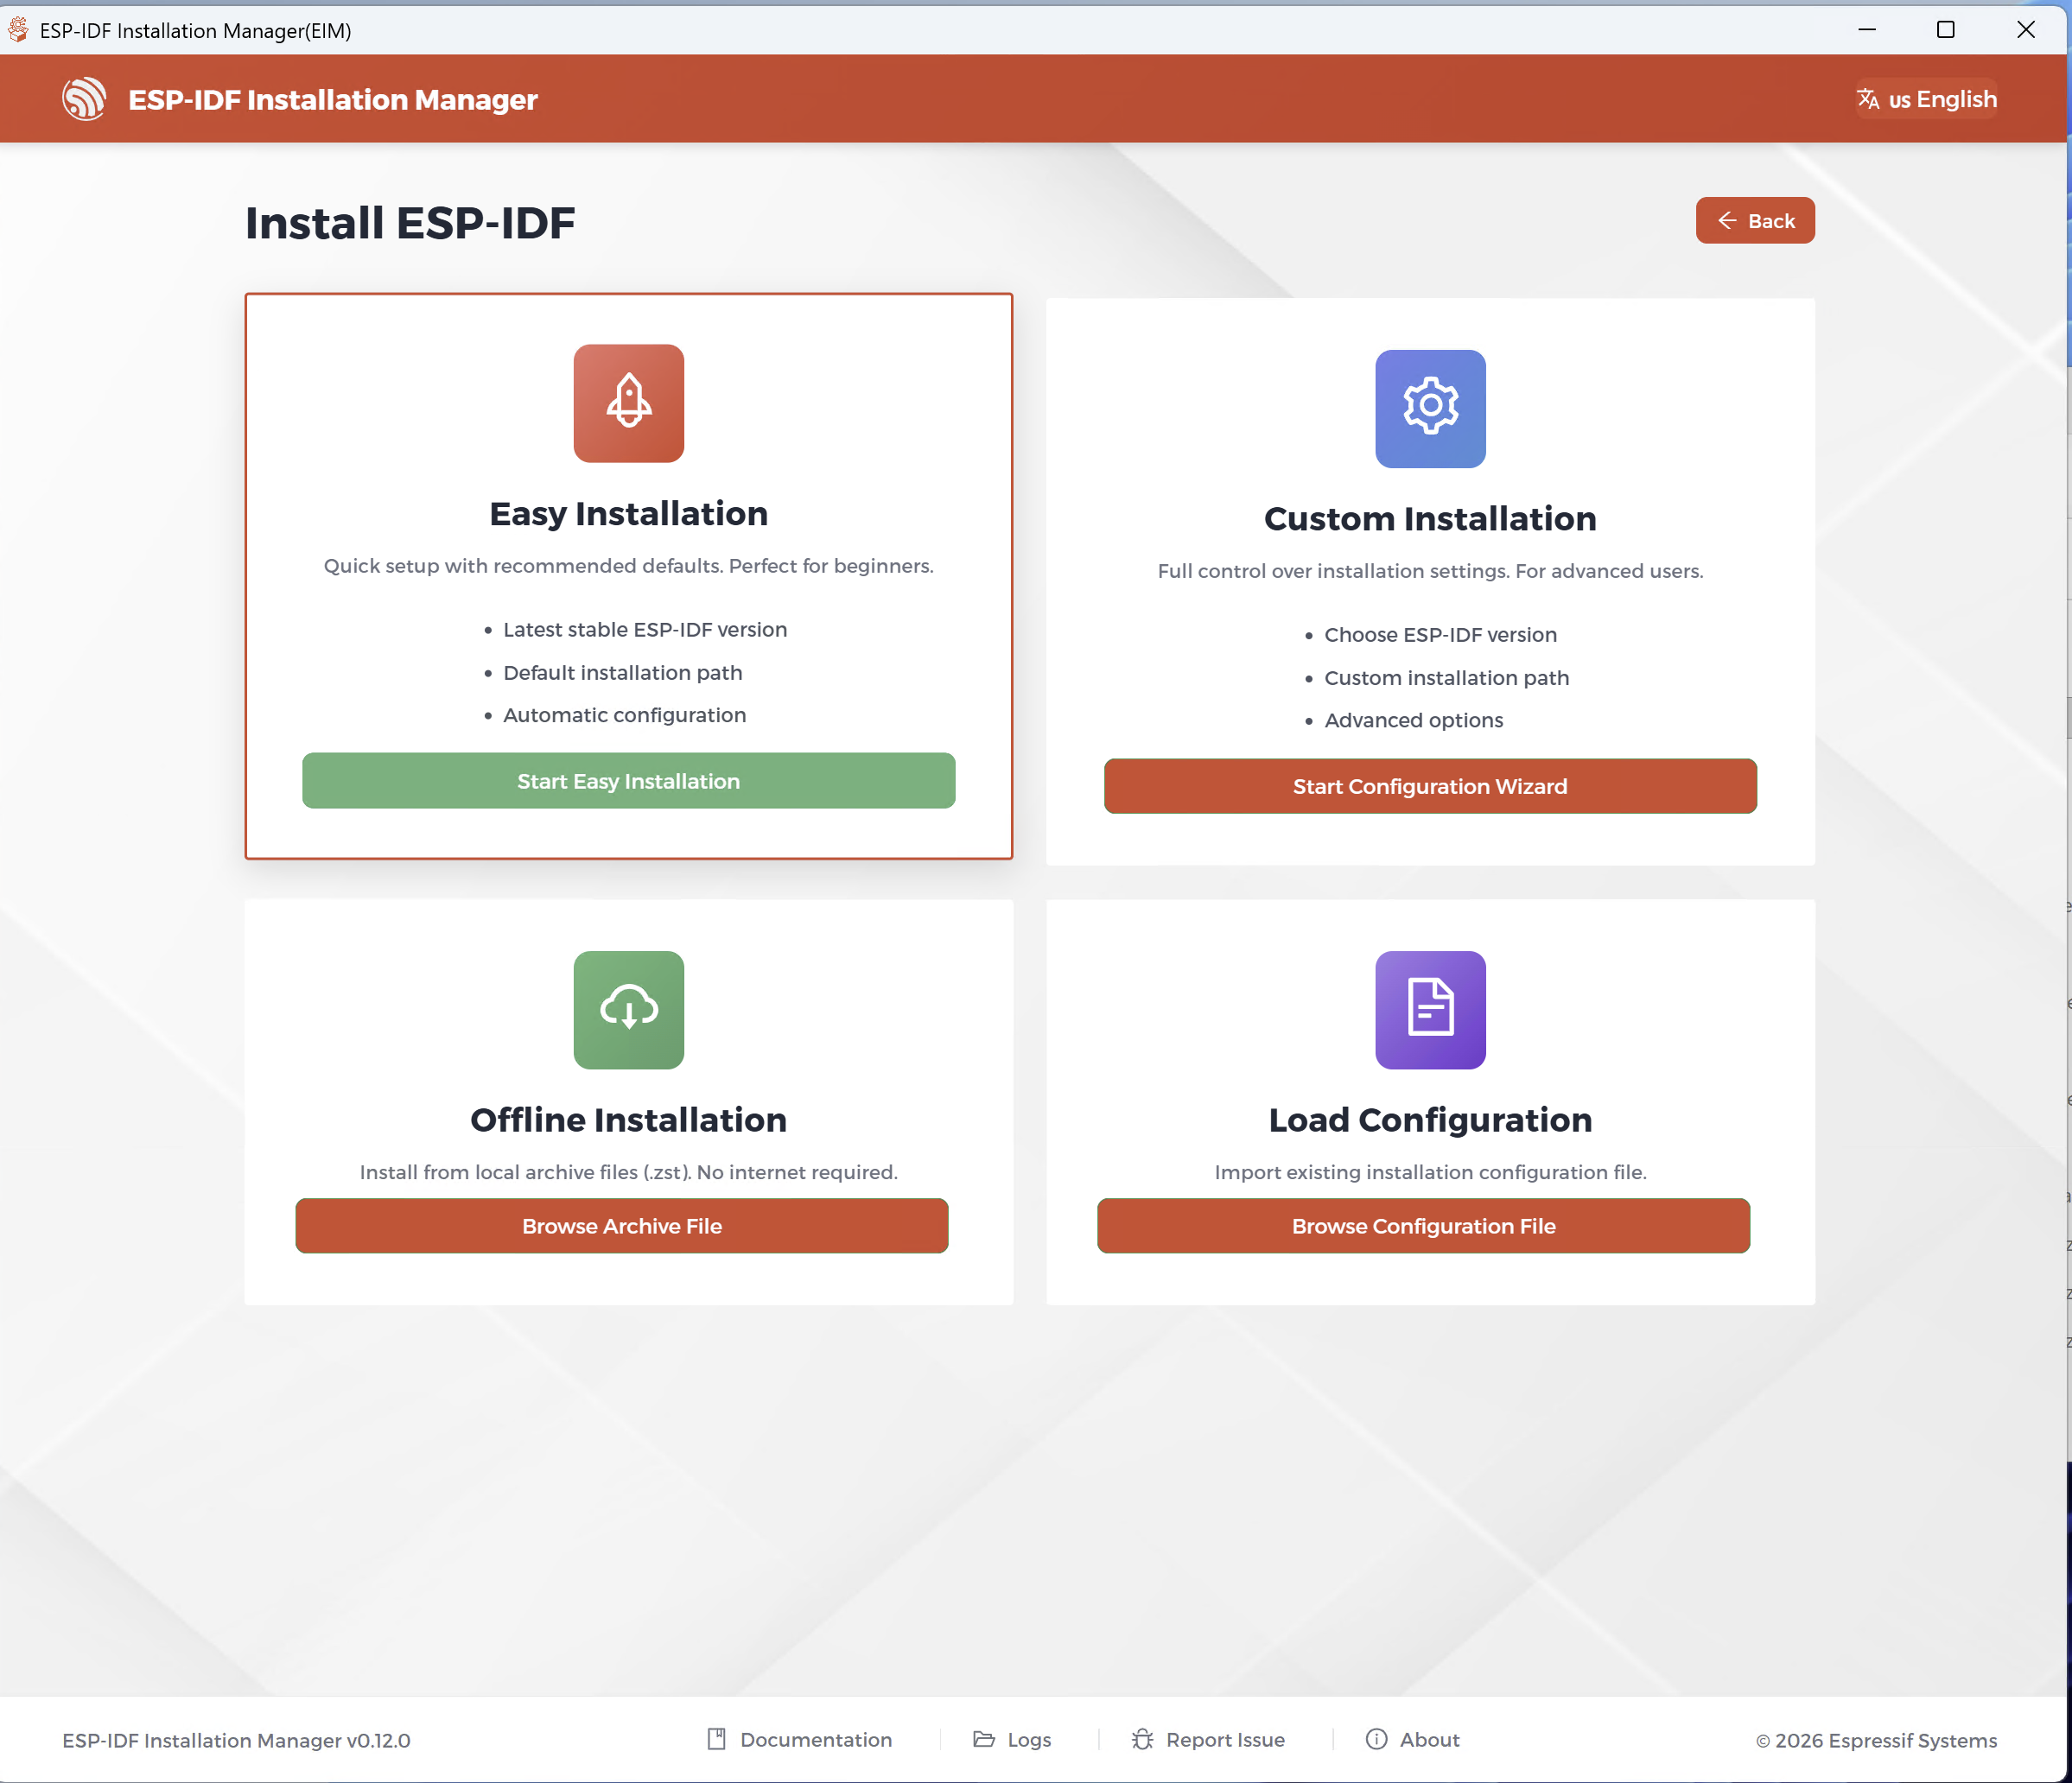
Under Easy Installation, click "Start Easy Installation"
This installs the latest stable ESP-IDF version with all default settings — the recommended approach.
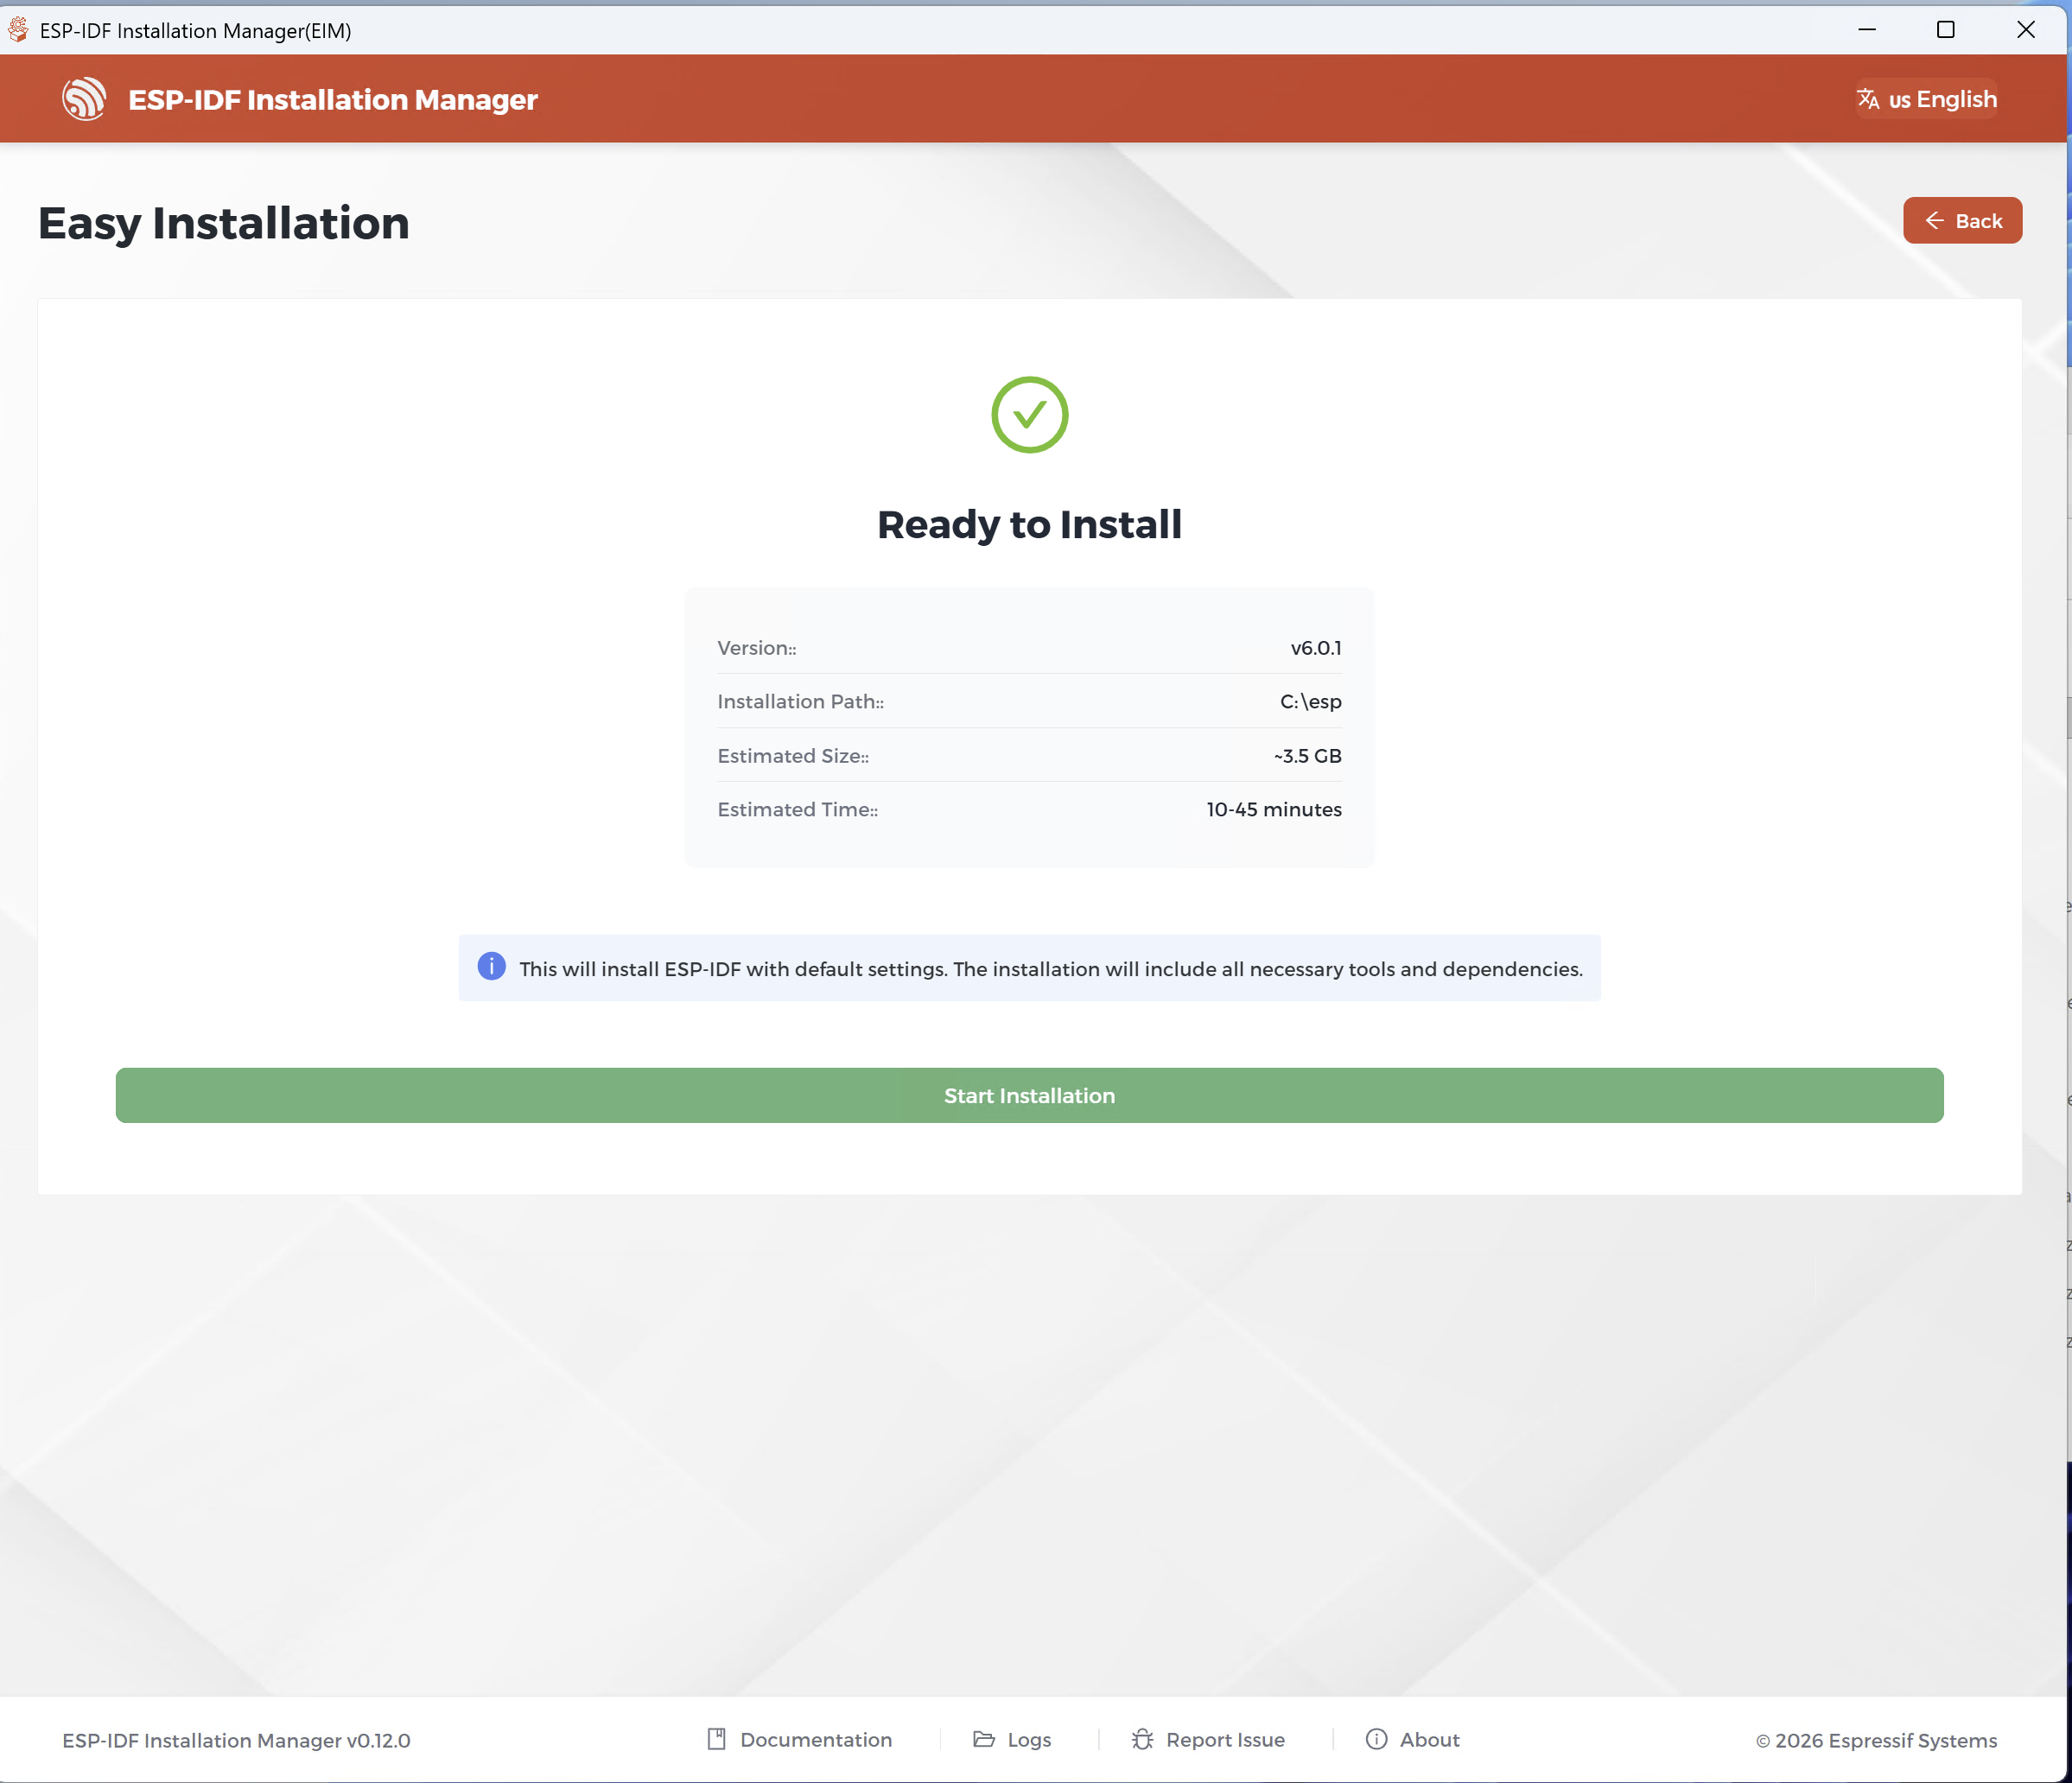
EIM checks all prerequisites automatically:
- Git — checked
- Python version — checked
- Disk space — checked
- Path length — checked
If all checks pass, the Ready to Install page appears. Click "Start Installation"
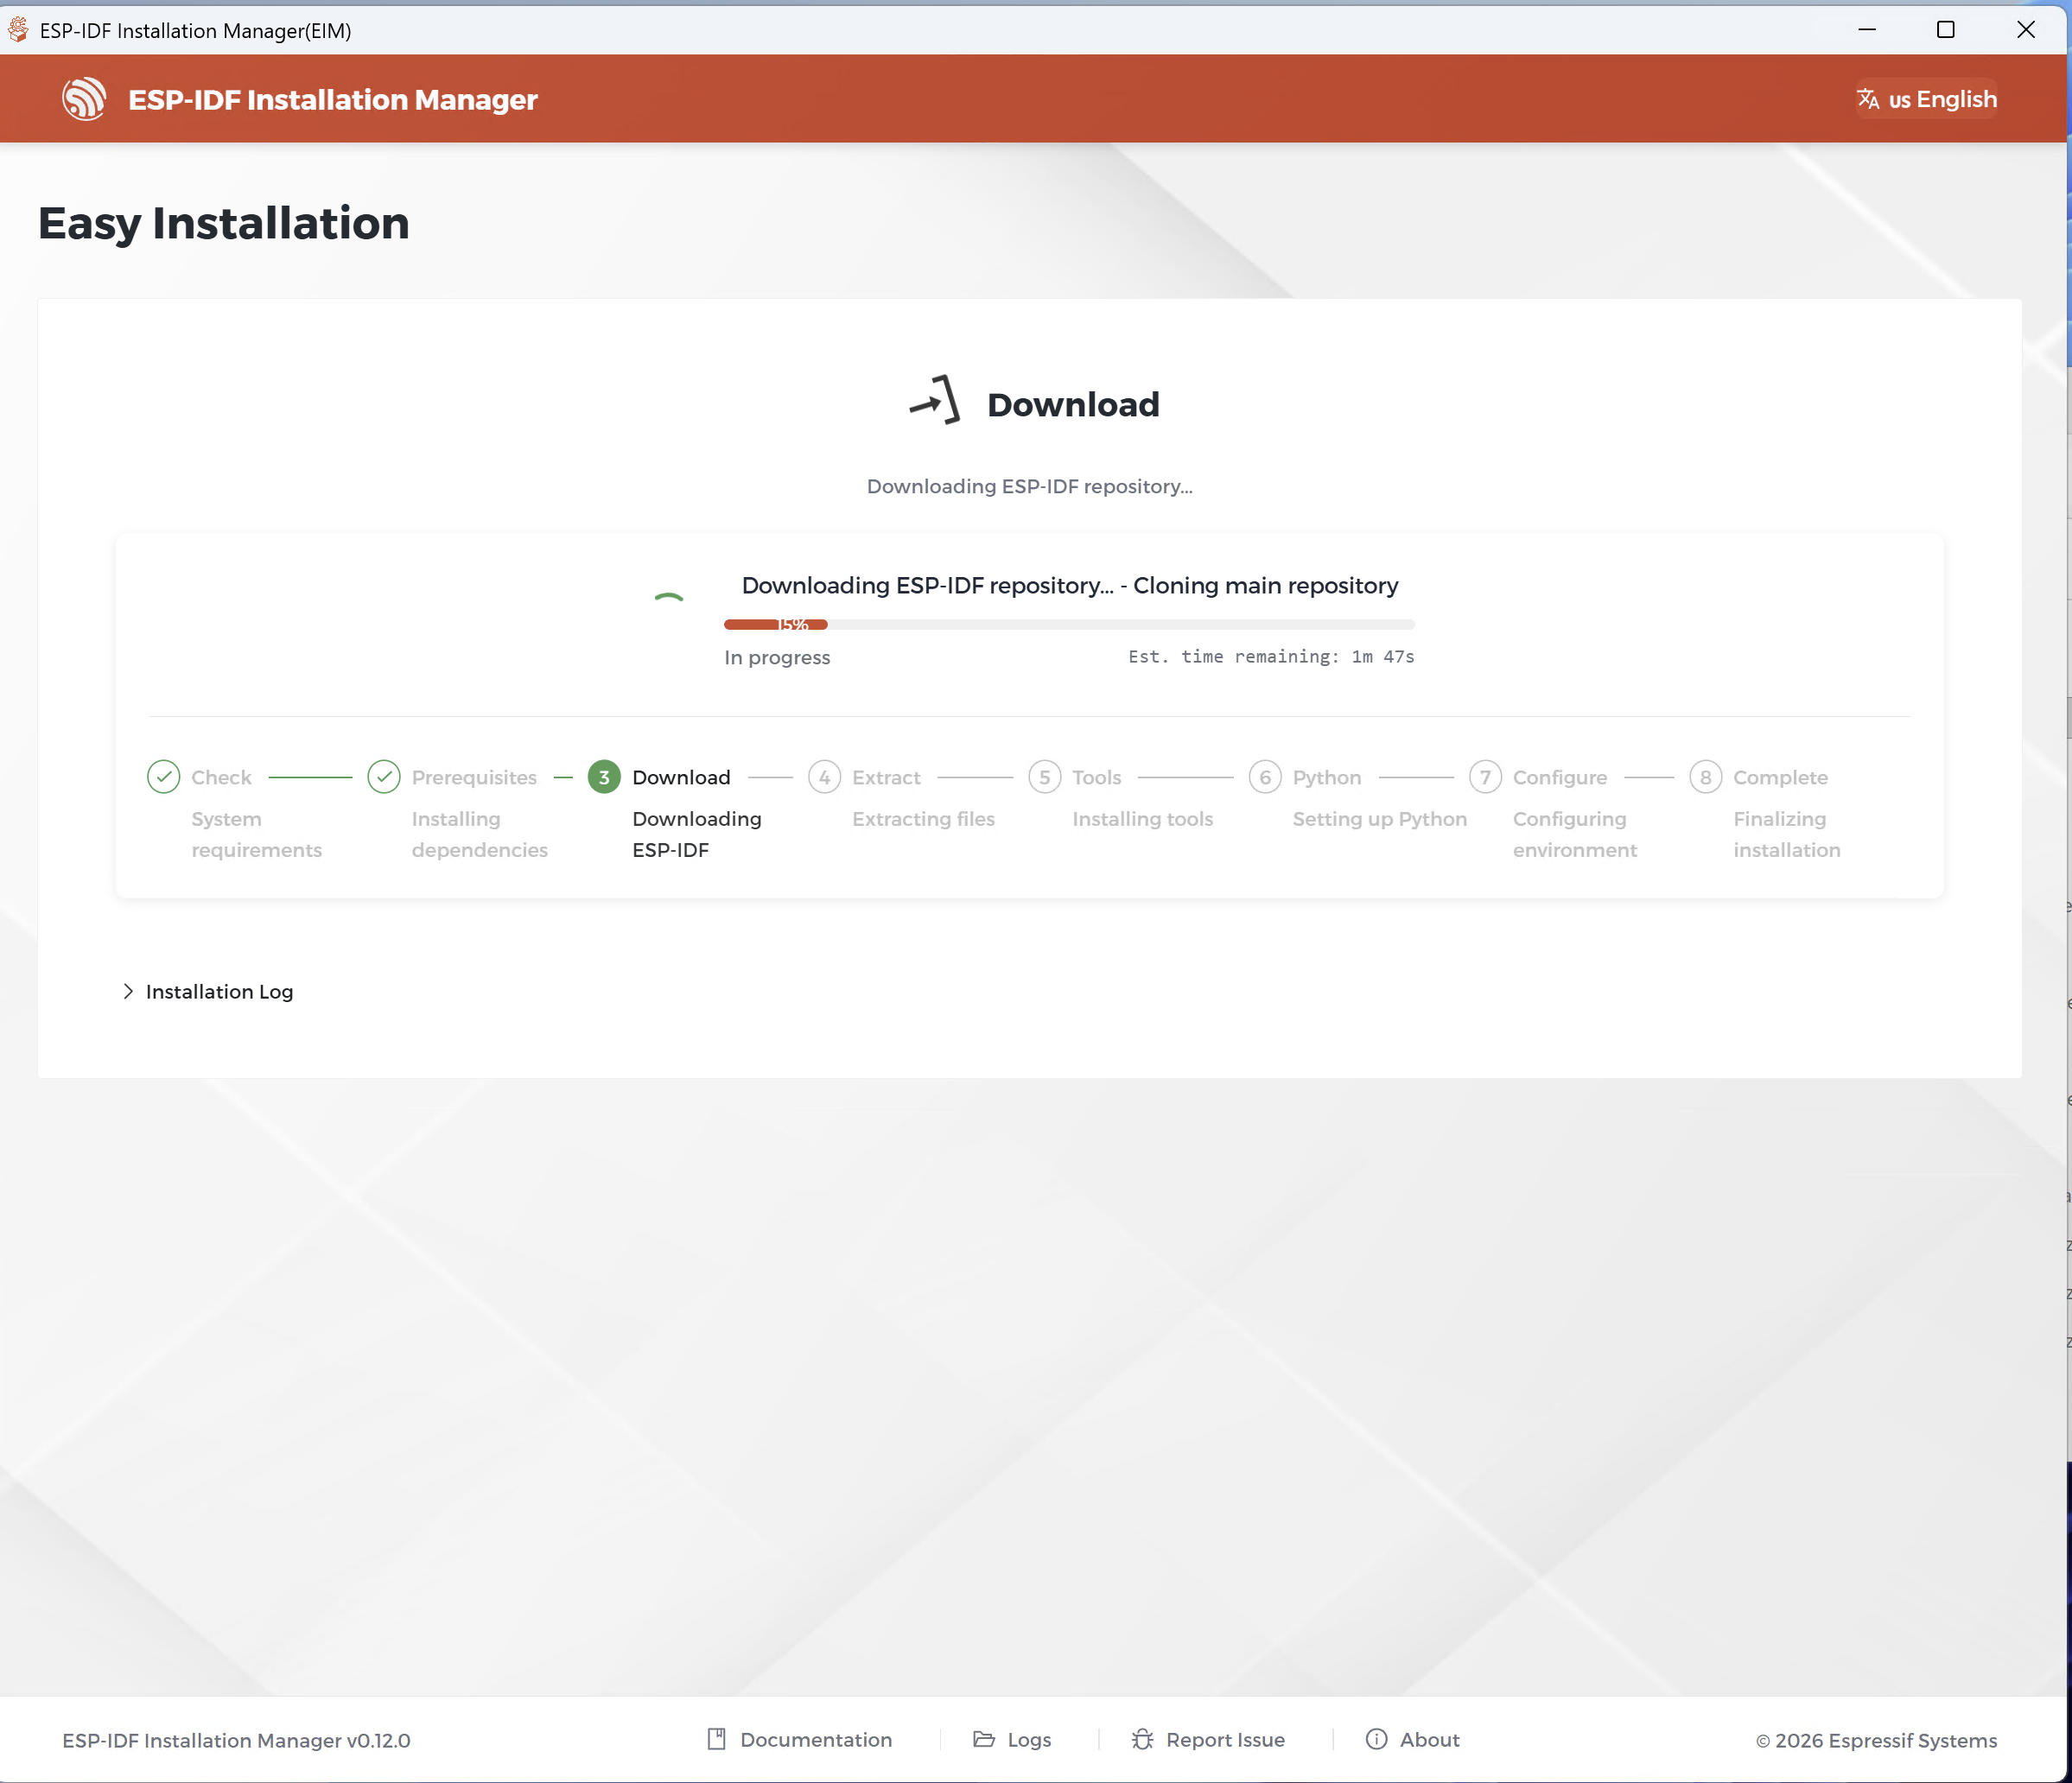
- Monitor the installation progress in the interface. This takes 10–20 minutes depending on internet speed.
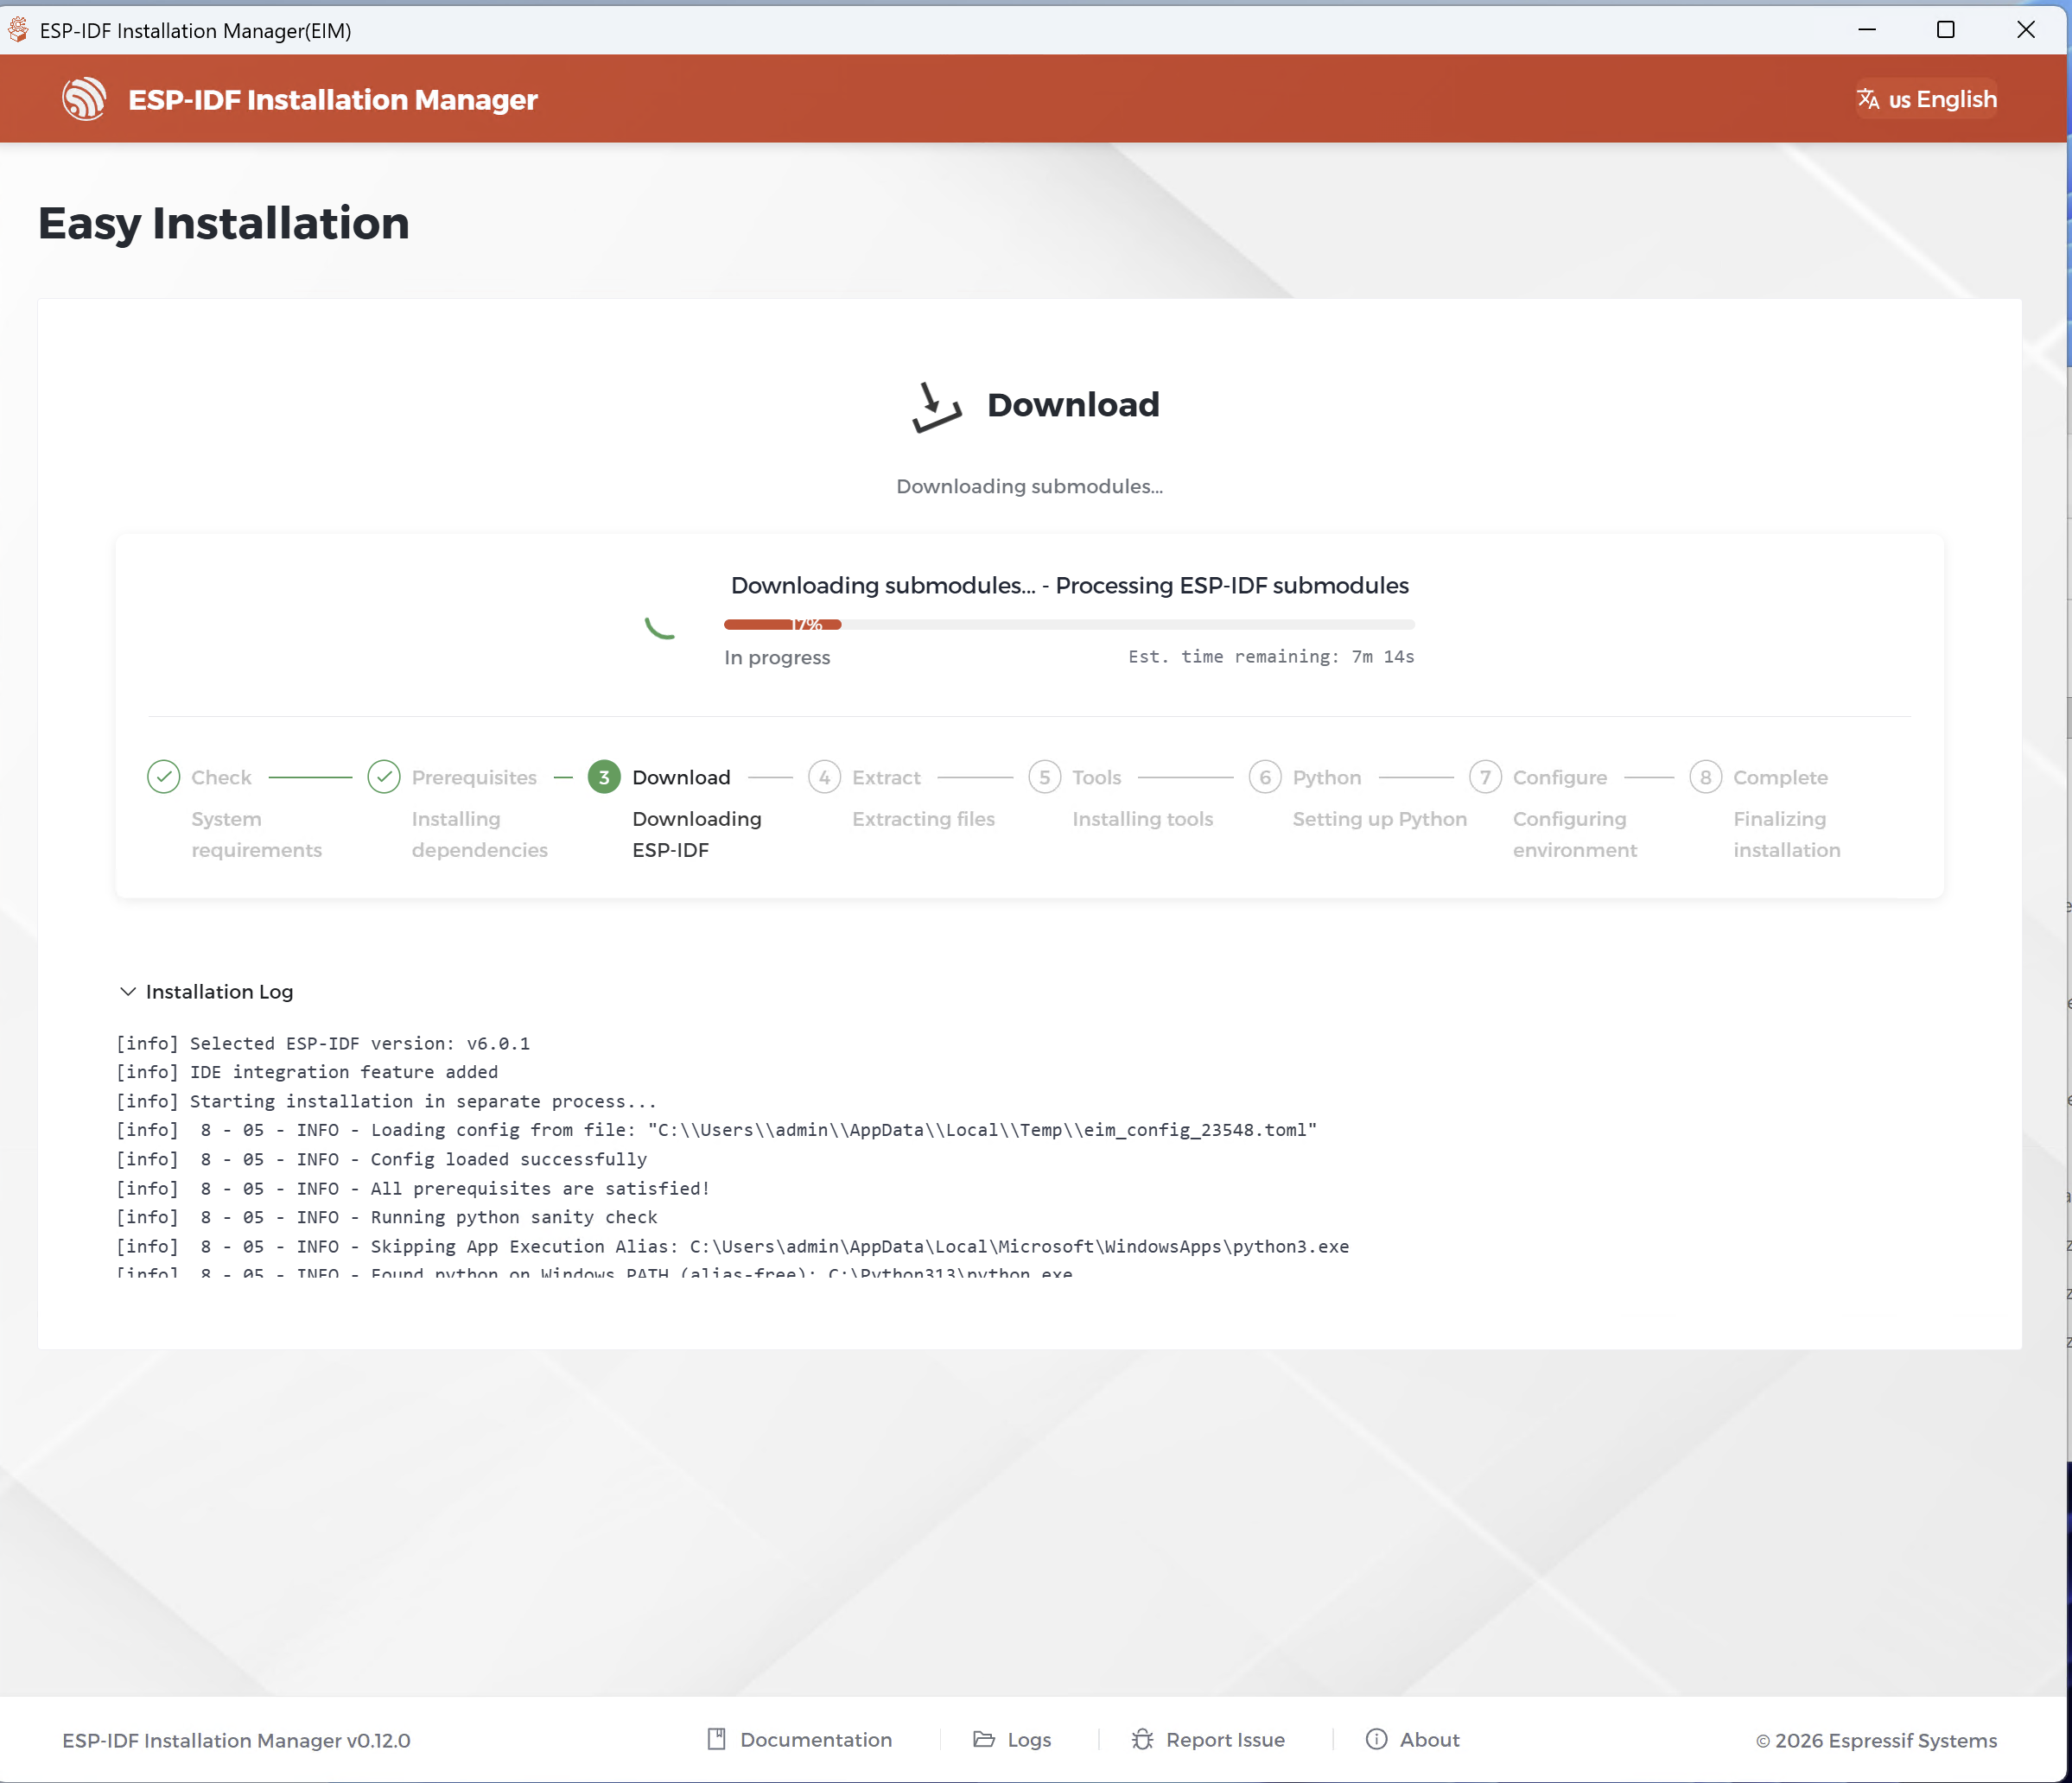
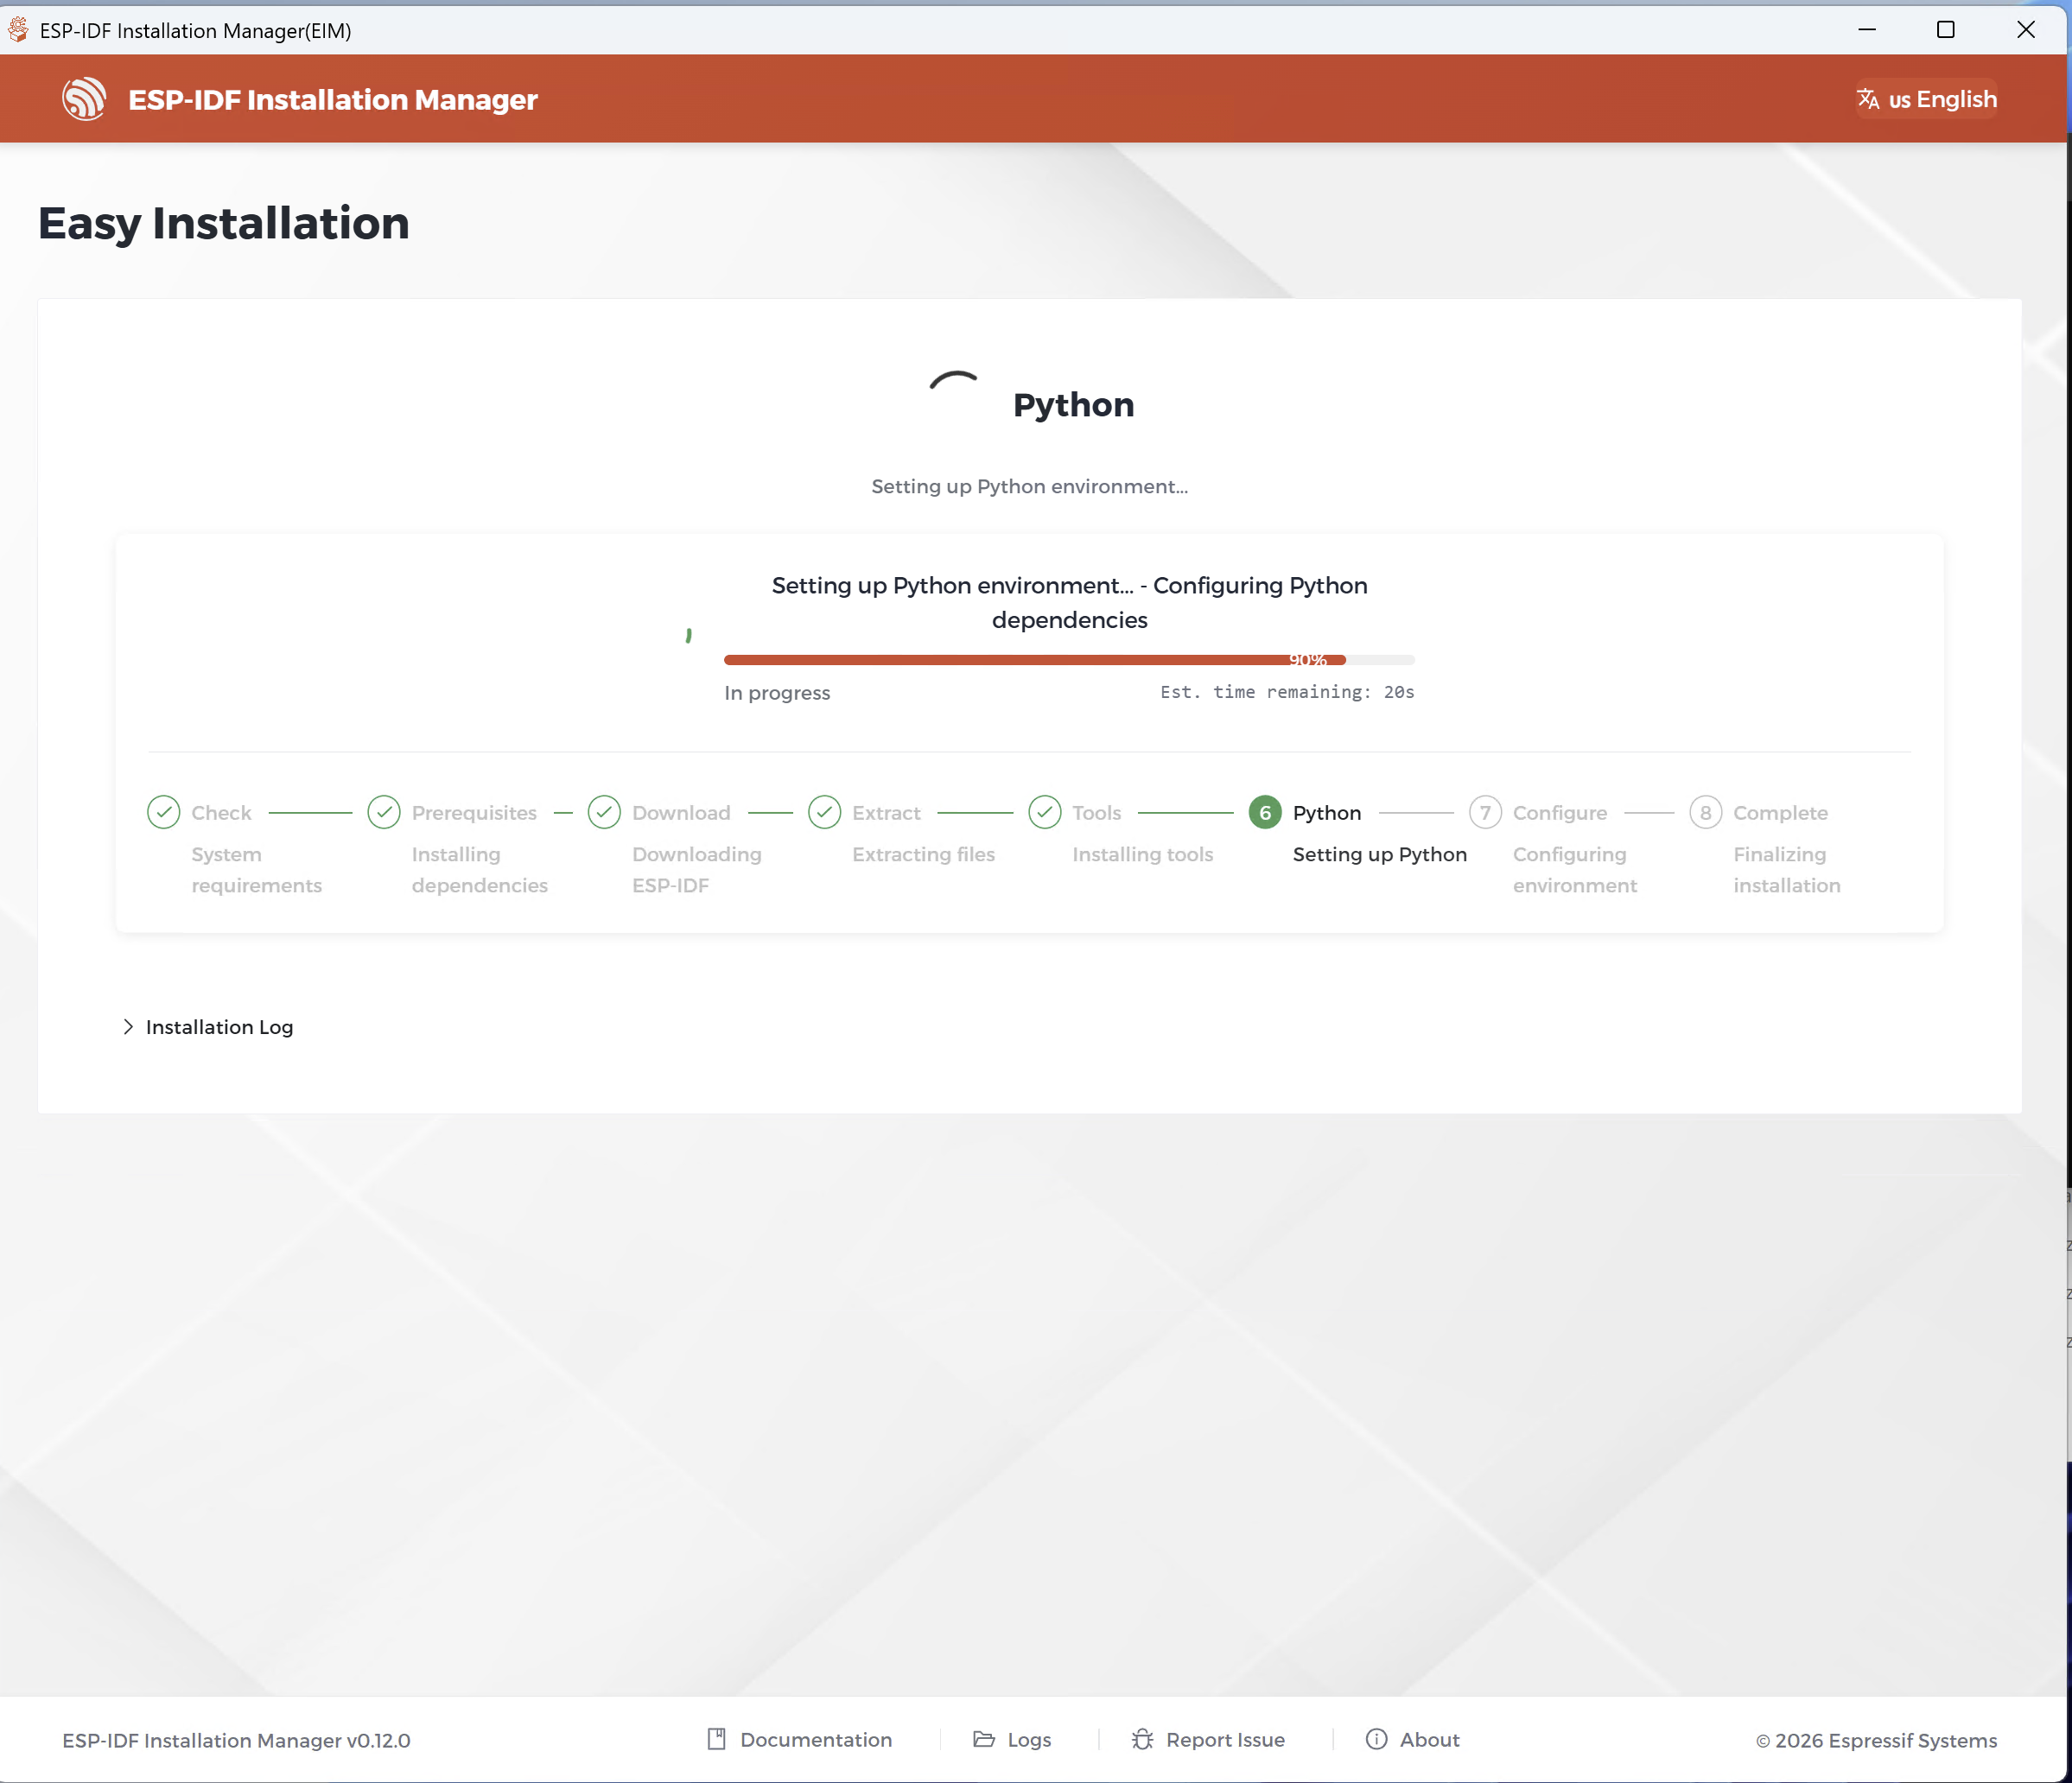
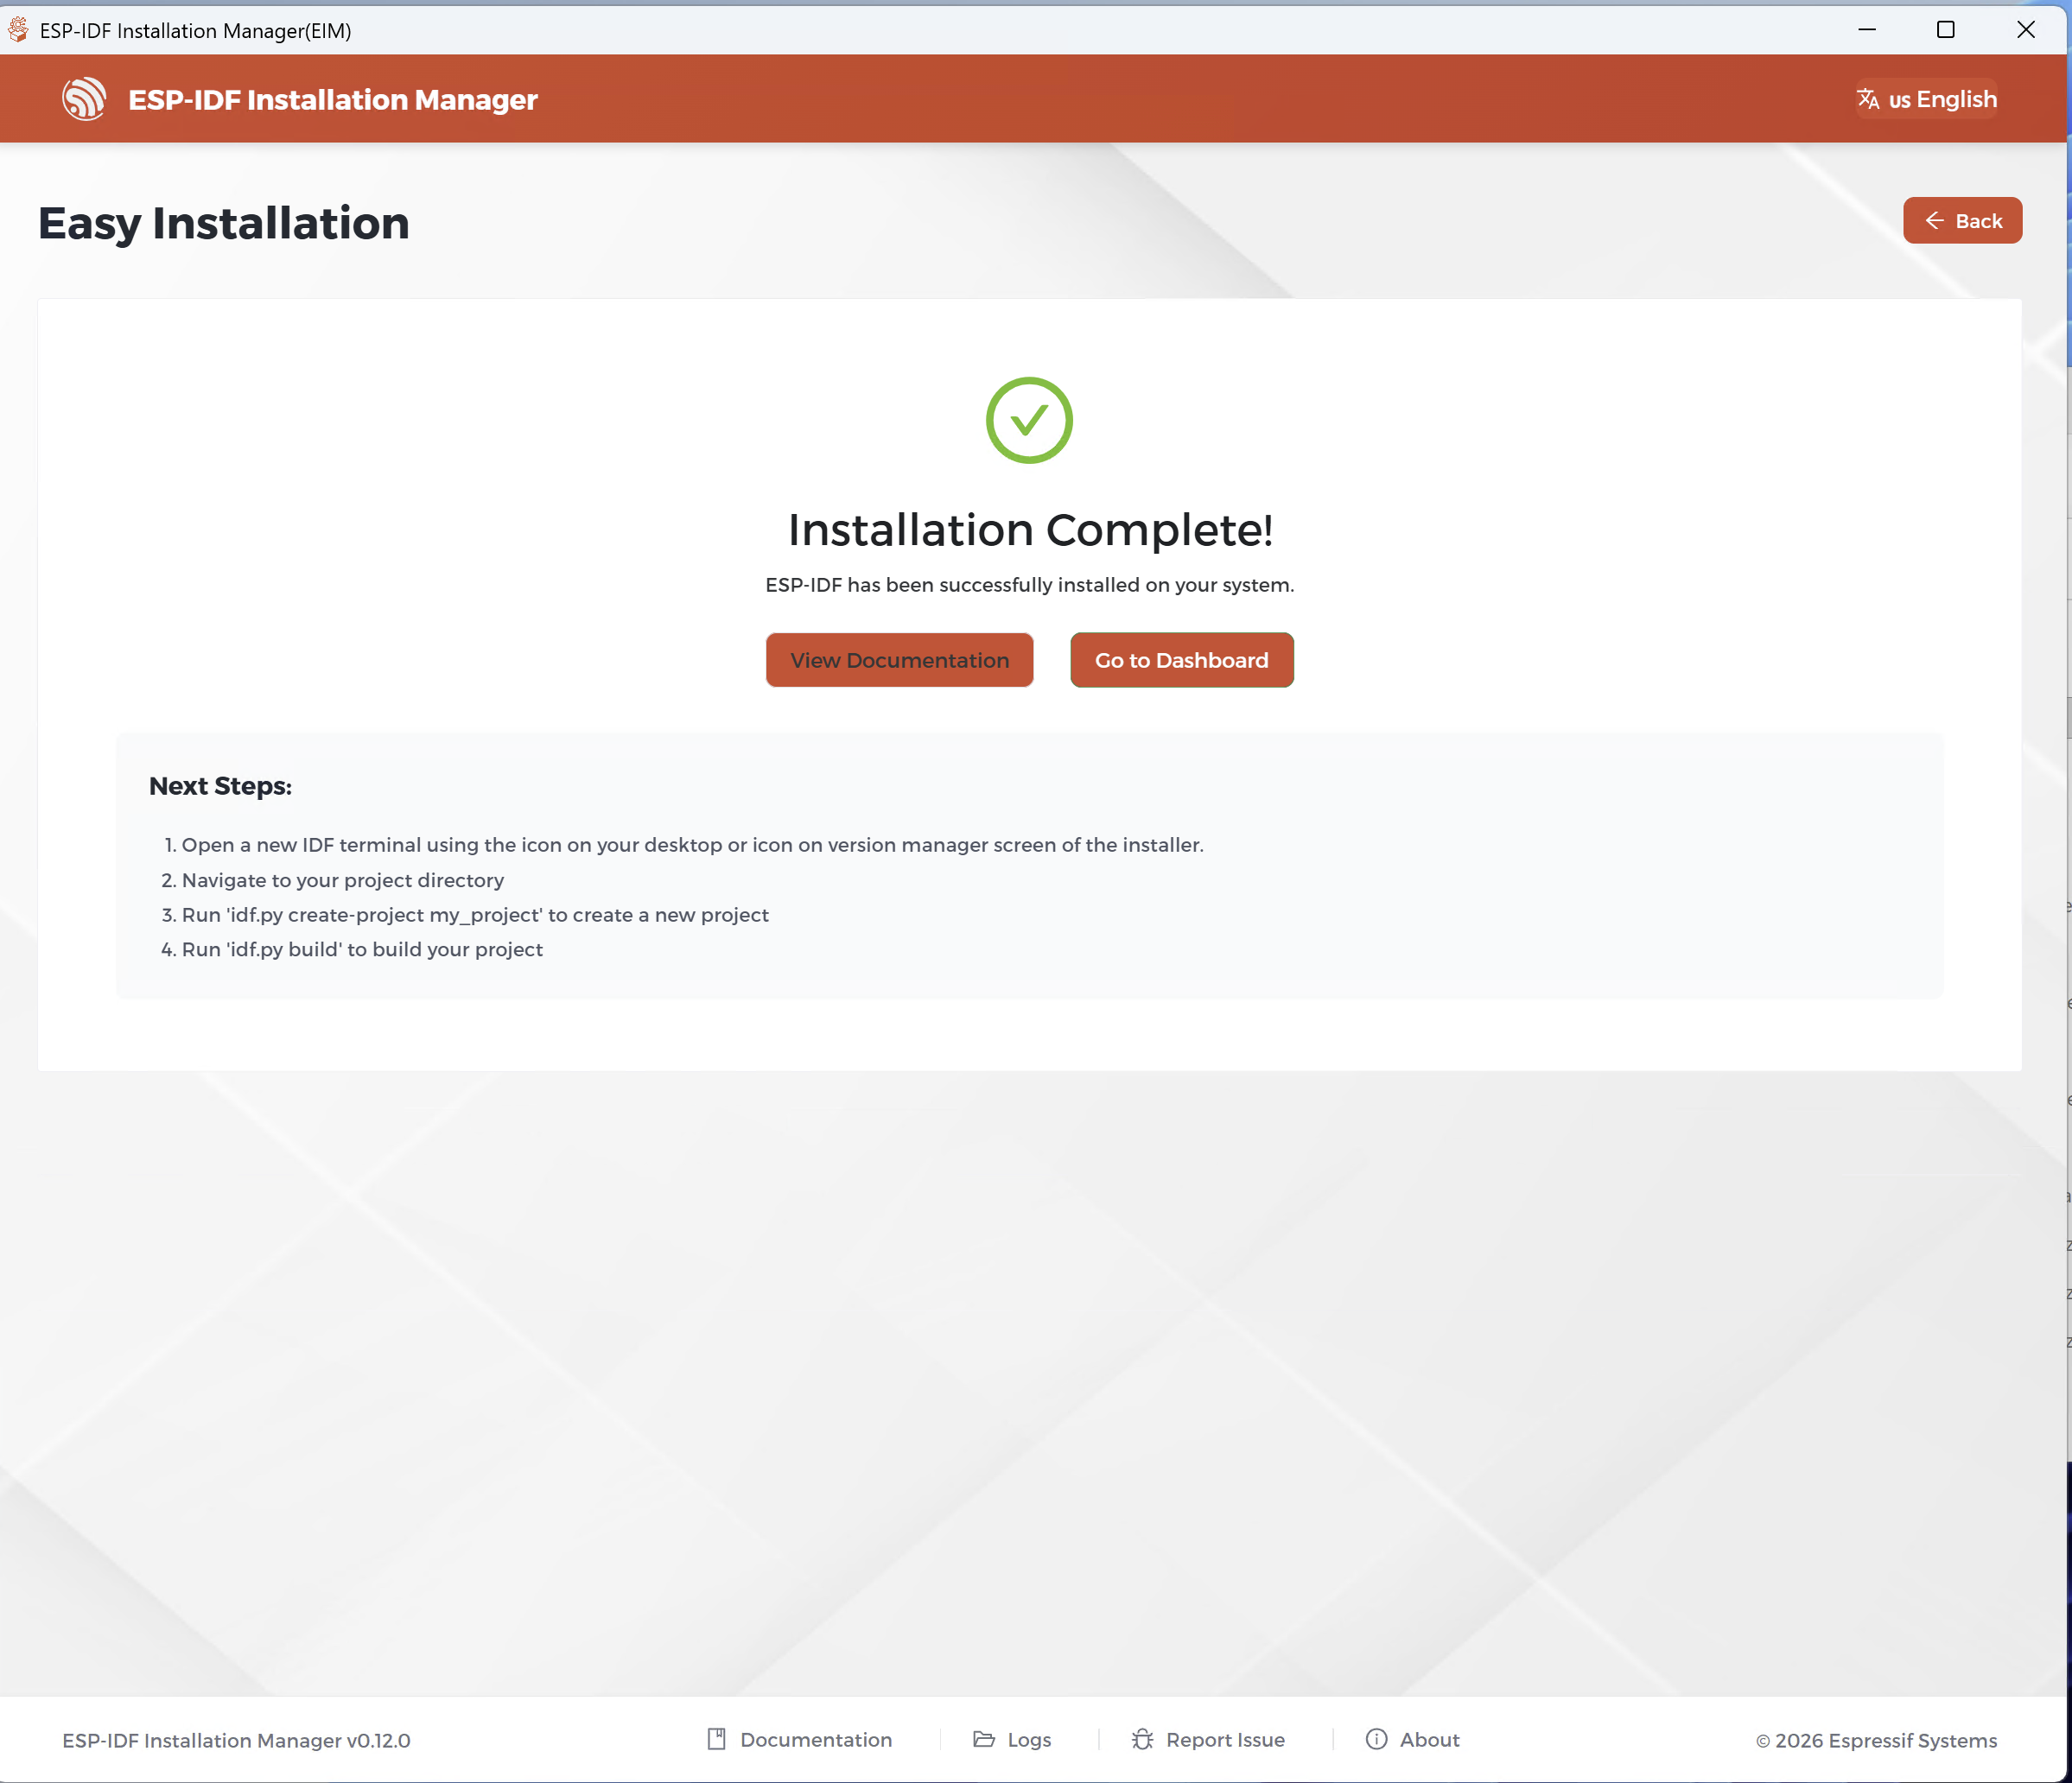
- Once complete, the Installation Complete screen appears.
If installation fails
Click Logs at the bottom of EIM to view error details. Resolve the issue and click Try Again. Alternatively use Custom Installation for more control over the install path and version.
Using the EIM CLI
# Install the latest stable ESP-IDF with default settings
eim install

# Or use the interactive wizard for custom options
eim wizard

# Install a specific version — for example v6.0.1
eim install -i v6.0.1
A successful CLI install ends with:
INFO - Successfully installed IDF
INFO - Now you can start using IDF tools
Step 4 — Activate the ESP-IDF Environment
After installation, EIM places shortcuts on your Desktop and Start Menu to open a pre-activated ESP-IDF terminal.
Using EIM GUI:
- Open EIM
- Click "Manage Installations" → "Open Dashboard"
- Select your installed ESP-IDF version
- Click "Open IDF Terminal"
A PowerShell window opens with the ESP-IDF environment fully activated.
Using the Desktop Shortcut:
Double-click the shortcut named IDF_v6.0.1_Powershell on your Desktop.
This opens a pre-activated terminal directly — no extra steps needed.
Always use the IDF Terminal
Always open the IDF Terminal via EIM or the Desktop shortcut — not a regular Command Prompt or PowerShell window. The environment is only activated in the EIM-launched terminal.
Verify the environment is active:
idf.py --version
# Expected: ESP-IDF v6.0.1
Step 5 — Install USB Drivers
Connect your ESP32 board via USB. If Windows does not recognise it automatically:
- Open Device Manager — press
Win + X→ Device Manager - Look for an unknown device under Other Devices
- Right-click → Update Driver → Search automatically
If auto-install fails, install the driver manually based on your board's USB chip:
| USB Chip | Board Examples | Driver |
|---|---|---|
| CP2102 / CP2104 | ESP32 DevKit v1, XIAO ESP32 | Silicon Labs CP210x |
| CH340 / CH341 | NodeMCU, many generic boards | CH341SER.exe |
| FTDI FT232 | Some older boards | FTDI VCP |
After driver installation, your board appears as COMx in Device Manager — for example COM3.
Step 6 — Build Your First Project
In the activated IDF Terminal, copy and build the Hello World example:
# Navigate to your esp folder
cd %userprofile%\esp

# Copy the hello_world example
xcopy /e /i %IDF_PATH%\examples\get-started\hello_world hello_world
cd hello_world

# Set target chip — change to esp32s3 or esp32c3 if needed
idf.py set-target esp32

# Build the project
idf.py build
A successful build ends with:
Project build complete. To flash, run:
  idf.py flash
Step 7 — Flash and Monitor
With your board connected and COM port identified from Device Manager:
# Flash and open the serial monitor in one command
# Replace COM3 with your actual port number
idf.py -p COM3 flash monitor
You should see:
Hello world!
This is esp32 chip with 2 CPU core(s), WiFi/BT/BLE
Restarting in 10 seconds...
To exit the monitor — press Ctrl + ]
🎉 Your ESP-IDF v6.0.1 Windows environment is ready!
Troubleshooting
idf.py not found
You are in a regular terminal, not an IDF Terminal. Open the IDF Terminal via EIM or the Desktop shortcut.
cmake version error during build
Open EIM and use "Repair Installation" to reinstall build tools.
Port access denied when flashing
Close any other application using the COM port — Arduino IDE, PuTTY, serial monitors — before running idf.py flash.
Garbled output in monitor
Your board uses a 26 MHz crystal instead of the default 40 MHz. In menuconfig go to Component config → Hardware Settings → Main XTAL Config → change frequency to 26 MHz. Then rebuild and flash.
Build path error
Your project folder path contains spaces. Move the project to C:\esp\hello_world — no spaces anywhere in the path.